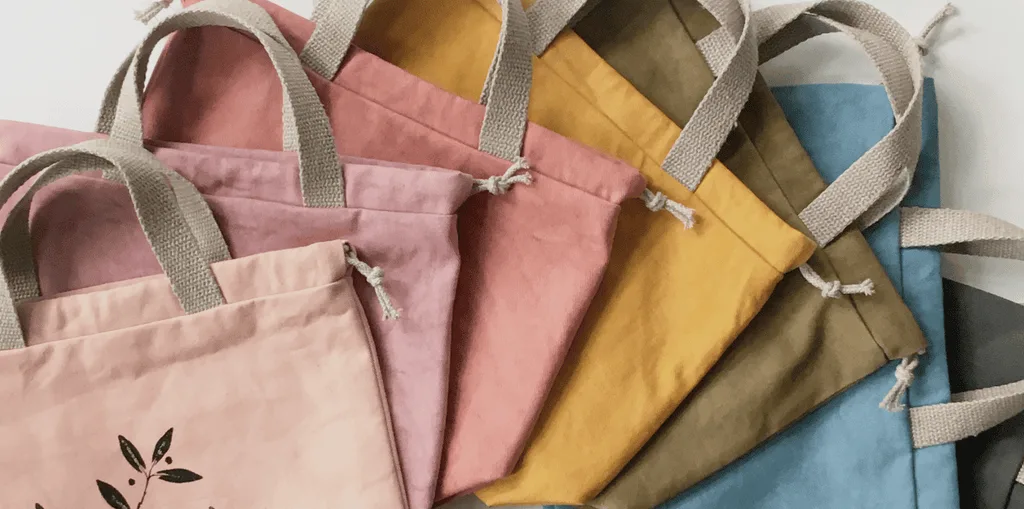
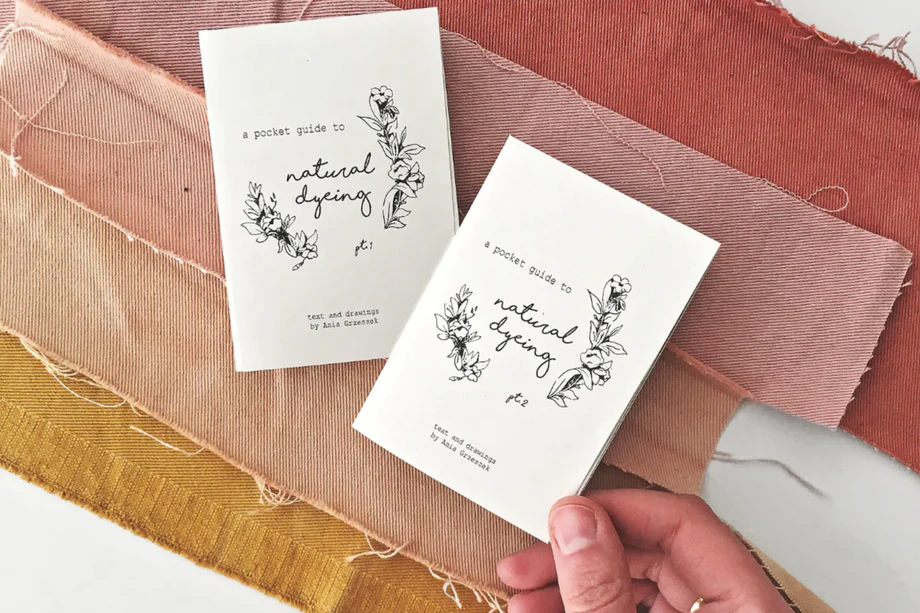
Plant dyeing took the internet by storm a few years ago, and there are now countless plant dyers sharing inspiration online. There's just one problem — it's not always as easy and straightforward as it seems.
Basic recipe
When I first started my adventure with natural dyes in 2015, I fell into the same trap. It took me years to realize that, like any other craft, natural dyeing has to be practiced to be mastered. It's not only that there's so much misinformation and frankly fake tutorials to be found. Another problem, which I am guilty of myself, was misinterpreting the information found online and drawing the wrong conclusions. It took me years to realize that some of the beliefs I'd picked up about natural dyeing were simply wrong.
But this beautiful craft keeps on giving. I'm still dyeing passionately ten years in, and I keep learning new things all the time. This is a post where I share some of the most basic concepts in plant dyeing. Please take this as a foundation you can build upon, not as a final recipe.
Your plant dye tutorial in five steps
SCOUR — MORDANT — RINSE — DYE — RINSE.
And now onto explaining what it all means.
Fibers you can dye
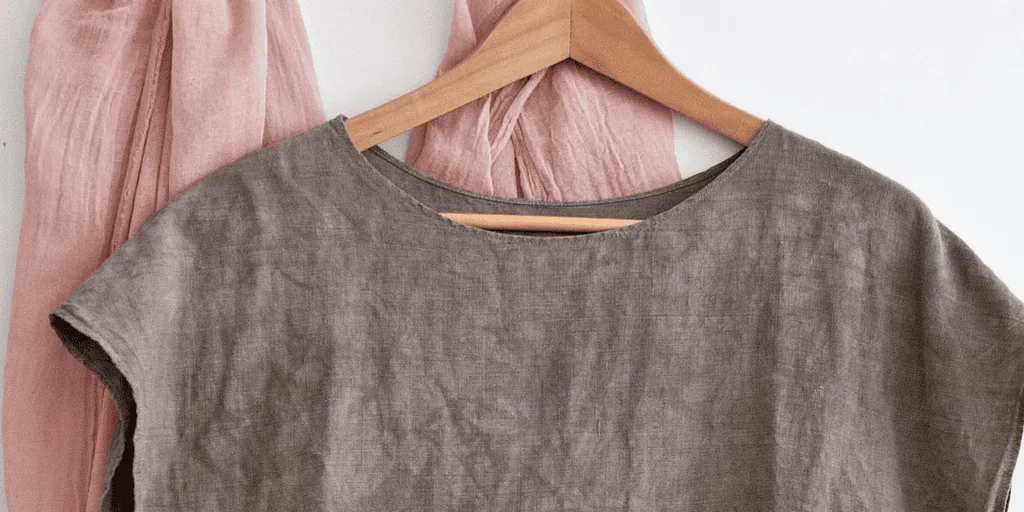
Plant dyes work on natural fibers. Natural fibers are fabrics and yarns made with natural materials, for example wool, cotton, linen, and silk. Synthetic fibers, on the other hand, don't take up natural dyes well, or at all.
General rule: only natural fibers can be dyed. Fibers coming from animals (silk, wool) take up the colors better than fibers coming from plants (cotton, linen, hemp).
Natural dyes you can use
The sky is the limit… well, almost. Not all dyes are equal. If you stick to traditional dyes used for centuries, you can't really go wrong. How to find them? In old books. And by old books, I really mean old books. Surprisingly many (utterly beautiful) new books share very questionable dye sources. It can be deceiving when you're first starting out. So to begin with, here's a short list of a few traditional natural dyes:
weld, madder, indigo, woad, logwood, fustic, osage, oak galls.
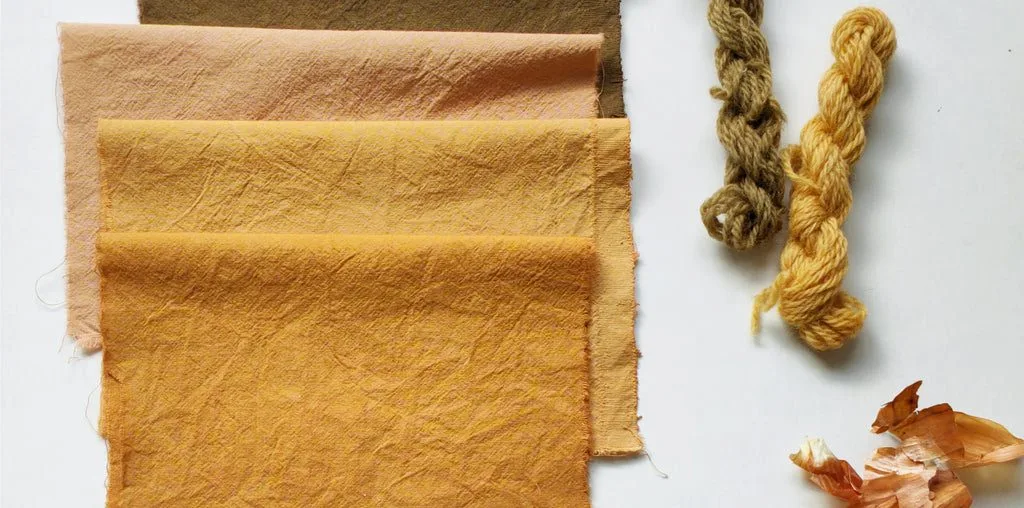
I personally like experimenting and testing new plants. I collect them in my local park (always research toxicity first) and test their qualities. If a plant wasn't used traditionally, there's a very good chance it's not super lightfast, but it's still lovely to collaborate with nature this way. Here's a short list of some of the locally foraged (or kitchen) dyes I like using, even though they're not all equally stable:
marigolds, goldenrod, black hollyhock, chamomile, acorns, walnuts, cow parsley, tansy, avocado stones, onion skins, and tea.
Remember that dye quality is a spectrum. Dyes can't be divided into just two categories (good vs. bad). Experimentation is the key to finding what you feel comfortable with. That said, there's a group of plants that show such poor lightfastness that I personally find dyeing with them a waste of resources (unless it's just for fun, to entertain yourself or your kids). These plants fade faster than I find acceptable, no matter what you do: beetroot, berries, red cabbage, black beans, turmeric.
General rule: things you can eat usually don't dye well. Just eat them instead. For super-stable colors, turn to traditional literature (basic colors: yellow — weld, red — madder, blue — indigo).
Preparing the fibers
Before you apply the dye, you have to prepare the fibers. The process goes like this: scour (wash), mordant, rinse.
The first thing I always do is scour the fibers. There are natural substances, as well as additives from the milling process, that protect the fibers. But they also prevent the mordant and dye from bonding with the cloth or yarn. Each kind of fiber calls for a different recipe and I won't list them all here. For cotton, I throw it in my washing machine at 90°C with a spoon of baking soda. For wool, I cook it in a dye pot for an hour at 60°C with wool detergent (cool down slowly to prevent felting).
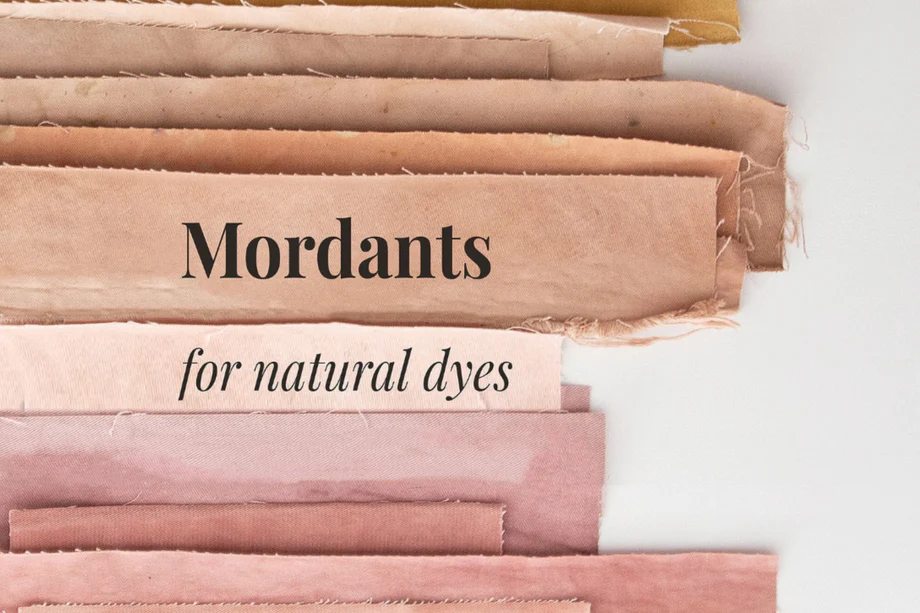
The second step is mordanting. A mordant is always a metal salt. There are many metals you can use: aluminum, iron, copper, chrome, and so on. I work with aluminum and iron. There are some alternatives to mordants, like tannins or soy milk. These substances are not mordants, though. They might improve color uptake or lightfastness in some cases, but do not create a chemical bond between the fiber and the dye. The bond they create is mechanical, which means it can be broken by rubbing or washing.
There are different kinds of aluminum salts available, each calling for a different recipe and suitable for different fibers. I personally use aluminum formate. It's a great mordant, as it works on all kinds of natural fibers and is applied cold. Prepare the solution (100g aluminum formate for 5L water in a lidded bucket), place the fibers in, and let them soak for about 24 hours. Take out, squeeze the excess back into the bucket, and rinse the fibers. Remember to always use gloves when working with mordants. Wear a face mask too, if you're working with fine powders like aluminum acetate. Aluminum formate can be stored in a lidded bucket until it's used up.
General rule: scour your fibers by cooking them for an hour (temperature and substances according to the fiber type), then mordant the fibers with a metal salt of your choice (for example, 24 hours in a cold solution of aluminum formate). Always rinse thoroughly after mordanting. Wear gloves.
Extracting and applying the dye
In order to extract the dye from plants, you have to dissolve the dye in water. There are different temperatures and extraction times for different plants, and it's difficult to give a one-recipe-fits-all. Experimentation is, again, the key. For harder dyestuff, like acorn, I cook them at 100°C for at least a few hours and let them cool down overnight. For soft flowers, like marigolds, I keep the temperature under a simmer for a maximum of one hour. Try things out, take notes, and eventually you'll develop a special kind of sensitivity.
After the dye is extracted, I strain the dye bath through a piece of muslin cloth to get rid of all plant matter. Next, I put the mordanted and wetted fibers into the dye. When you put your fibers in the ready dye bath, heat it up once more and let it simmer for at least an hour. Stir the fibers every 10 to 15 minutes to avoid splotches. You can even cool down the fibers in the pot overnight, though they might dye unevenly if not stirred regularly. Take out your fabric, rinse it thoroughly under cold water, and let it dry.
General rule: cook the plant in water to dissolve the dye (temperature and extraction time depend on the plant), strain the dye, place the fibers in the dye bath, and cook again to let the dye bond with the mordant. Rinse.
Exceptions to the rule
At this point I'd like to give you one more tip: there is no one right way to do it. That doesn't mean there's no wrong way, though. The process should always match the intention. You decide what your intention is, then adjust the process to your needs. The process described above is what serves me in my art practice. It's not necessarily what I'd choose if I were, for example, running plant dyeing classes with children.
Exercise
Here's a small exercise for anyone who always wanted to try natural dyeing but never found the courage or time. It only takes an hour, and it's easy.
- Prepare three big glass jars and a small amount of natural white wool divided into three mini skeins (around 10g each).
- Try to collect some red or yellow onion peels, three avocado stones, and some freshly ground coffee beans (alternative: black tea).
- Cover onion peels with water in a small saucepan and bring it to a boil. Cook for an hour. Strain the skins and pour the liquid into a jar and let it cool. Cut avocado stones into smaller pieces, cover with water in a small saucepan, and let simmer until the stones are soft, usually around an hour or two. Dispose of the stones and cool the liquid in the second jar. Brew fresh coffee using coffee filters to separate the grounds and pour the liquid into the third jar. Add enough cold water to fill the jar.
- Now wet the wool under cold water and place one mini skein in each of the jars. Put all three jars on your kitchen windowsill. It's best if they get some direct sun during the day, but it's not a must. Wait for two days…
- …then take out your fibers, rinse them under cold water, and hang them up to dry. Done.
I hope you enjoy your first dyeing project. From now on you can start experimenting with more demanding dyestuffs, fibers, and techniques.